Now that you know Why thirty-two pages? is the standard number for your picture book, you can pace your story within that format. By editing, using page turns to increase drama, and planning the action, you will turn your manuscript into a book.
Your text is likely to change along the way. Here’s a great example. Maurice Sendak made a book dummy titled Where the Wild Horses Are, which eventually morphed into Where the Wild Things Are. Wereaditlikethis has a terrific blog post that shows Sendak’s sculpting of this story as it moved from idea to dummy to finished book. The story changed as did the elongated format of the dummy, which is nothing like the shape of the finished book we all know and love.
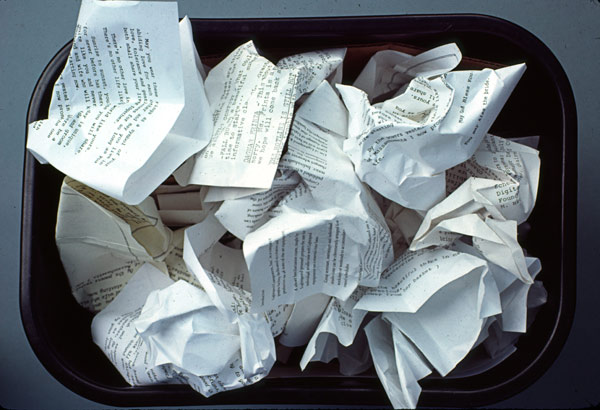
So, like Sendak, you must shape your story. Write and revise it. Every word should be absolutely essential, otherwise eliminate it. The tighter your story is, the stronger it is. Type it following Jen Malone’s standard manuscript format.
Now, for writers as well as illustrators, it is important to plan the pages. Why? So you can see where the text is too long, what might be left out, and whether your pacing works. One speedy way, on screen or on paper, is to number the pages in the margin.
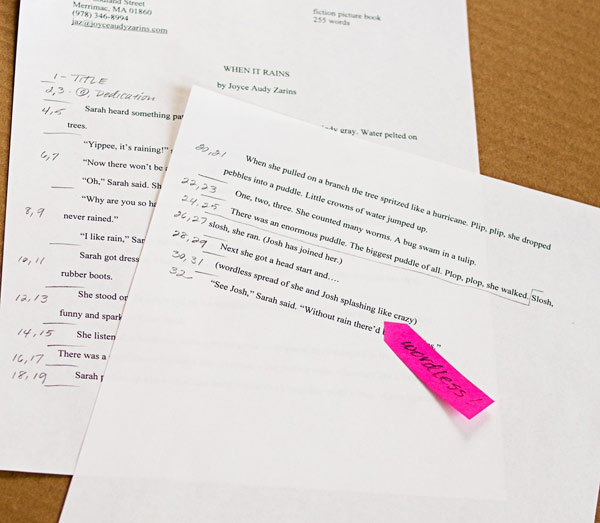
These are oh so easy to change if things don’t fit well. Think in double page spreads, meaning left and right pages opened side by side, since this is how the book will be seen. Remember to allow for the front matter – the title and copyright pages. These often occupy pages 1-3, but if your text is very short, you can spread them out more by having a half title, or a double-page title spread, and a dedication page. You may want to split text up for dramatic effect. Also count any pages that have no text – where a picture would best dramatize the action.
Once you’ve done this, you might want to do a quick thumbnail layout to help visualize the pagination. Back-of-the-napkin squiggles work fine. Include a word or two to show what happens on each spread. Or, if you are illustrating, do quick thumbnail sketches.
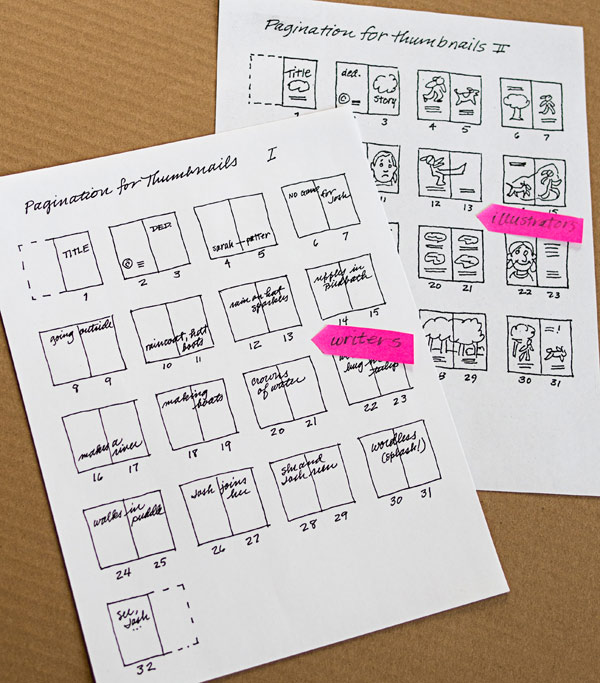
Is there a question or dramatic action in the story? If so, decide whether to use a double page spread, or better, to make the reader wait for the answer – put it on the next page! Page turns are elements of the story too. By now you can see how your text fits the thirty-two page format.
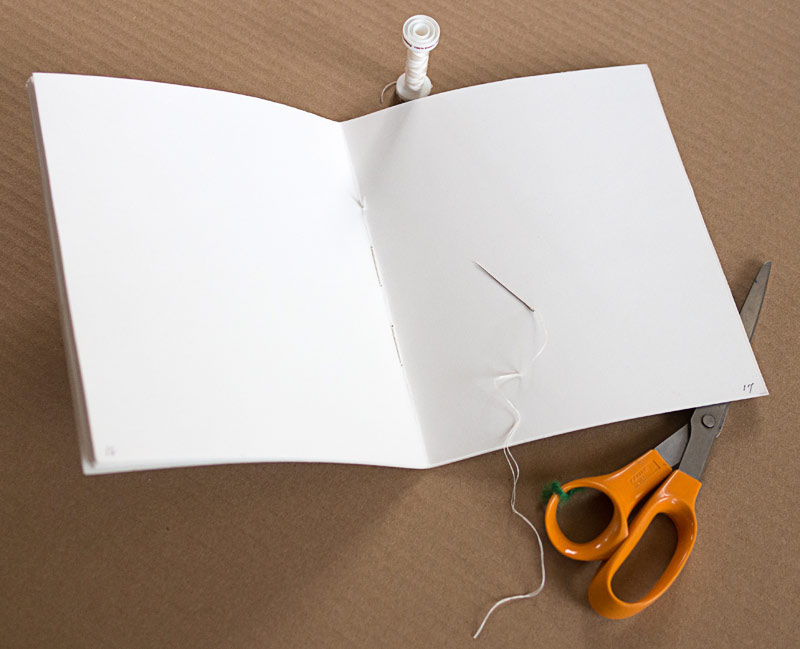
If you are laying out your pages with a program like InDesign, plug in the text where it now goes. Add your art if you are also illustrating. Once everything is refined, you can save it as a .pdf. Or, for a tangible approach that mimics the feel of the final book, make a traditional working dummy by folding eight sheets of paper in half. If you have chosen a book size you like, cut sheets of drawing paper into the size of your double page spread. In this way, you can see how the scale and orientation of pages will look. Or you can simply fold standard computer paper. The crease in the middle is called the gutter. Staple or sew the paper together along the gutter. You may have noticed that Sendak’s dummy for Where the Wild Horses Are was actually hard bound, but this is really unnecessary. Number the dummy pages in pencil at the outer corners, starting with the very first page as one and ending with the last as thirty-two. This helps get your mind set to the correct length.
Cut-up your text and slip it in where it should go in the dummy. Here is one more chance to shuffle and change the sequence. You may also see places where you can eliminate some text. If you are illustrating, include sketches and one or two pieces of sample art.
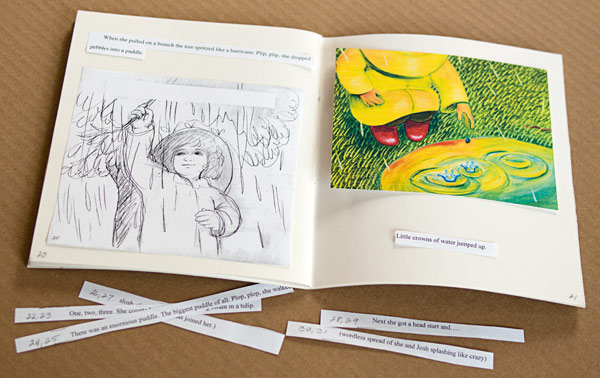
When you feel you have maximized the page turns and everything fits best, glue or tape the text. This dummy is your reference model so you can see the shape of your story.
Whether you rough your story out on screen or on paper, what is important is that you maximize its pacing and that it fits the format. Make the story unfold in a way that will draw the reader in.
This post originally appeared on WritersRumpus.
Photos by Egils Zarins
This is excellent! I went to a conference and paid $$$$$$. Your article and tips
were much more detailed and helpful. Thank you!
Thank you, Maureen. I try to be useful. Having a press sheet from one of my books helped with the visuals and I’ve show lots of school kids the little mock press sheet cut up. Even their teachers usually had never thought before about how the pages come together. I am thrilled that you found the article informative.